Free Watermelon Gelato seeds on orders over $150

1. Growing Autoflowers – Tips for a Perfect Autoflower Grow

An autoflower grow might seem difficult for those unfamiliar. That’s because growing autoflowers is a little different from growing fems and regs. Cannabis cultivators must learn to expect different growth patterns and potentially different yields when growing autoflowers.

How Long Does it Take Autoflowers to Grow?

If you are a beginner grower looking to get your first experience growing weed, or you are looking for a fast turnaround in terms of seed to harvest, then autoflowers are perfect for you. 

Before we dive into the growing process of autoflowers, it is important to first understand a little bit about this beautifully unique and special type of cannabis plant. Autoflowers derive from a wild strain of cannabis first identified as ¨Ruderalis¨ found in Russia sometime in the 1940s. 

They differ from their photoperiod cousins in a few key ways. The most important is that autoflowers do not need any signal from the sun (or light) for the plant to start flowering. Instead, they automatically start flowering at the 4 to 5 week mark, no matter what is going on with the sun or light schedules. 

Now that we have a basic understanding of what makes autoflower cannabis strains different from the photoperiod strains, we can start to explore a bit more about their grow process. 

Typical Growth Period 

The general timeline for autoflowering plants, from seed to harvest, is somewhere between 8–14 weeks. This depends on the particular cultivar you are growing, but as a general rule, Indica strains will take around 10 weeks, with Sativa options needing a few more weeks. 

Stages of Growth 

There are three main stages of an autoflower grow. These stages can be broken down into week-by-week cycles, which we will have a look at next. For now, let’s focus on the most well-known and important stages to wrap our heads around. 

Seedling Stage

This occurs in the first two weeks after planting your autoflower. It involves the germination of the seed and the beginning of the exciting journey that you are embarking on as a grower. Once you see that first set of ‘true’ leaves, you know your pant has left the seedling stage.

Vegetative Stage

During weeks 2-4, your plant will start showing the initial signs of vegetative growth, and really explode. At this point, your plant will double in size very quickly, and then some.  

Flowering Stage

From week 5 (for most autos) until harvest time is the flowering stage. This is when things start to get exciting, with the formation of beautiful, alluring buds. By the end of week 6, your plant should be around a foot tall. 

Factors Influencing Growth Time 

A number of factors can influence the time it takes from seed to harvest, and these factors will also likely influence your yield. 

The grow time of an autoflower cannabis plant depends on the strain genetics, the environmental factors at play, how much nutrients and water are given to the plant, the timing of these nutrients, and the different growing techniques that you choose to use. 

How Do You Grow Autoflowering Weed?

Although growing autoflowers can be a lot easier than growing some photoperiod weed strains, there are still a number of things to look out for, techniques to use, and things to avoid if you want to get a yield that is aromatic, tasty, and, most importantly, gives you the high you are looking for. 

Germination 

To get the best results, we recommend using the paper towel method during the germination stage. This involves soaking your seeds in water for 12 hours, followed by wrapping them in moist paper towels for one or two days. 

Its important to make sure that your paper towel is in the moist “goldilocks zone”. That is, not too wet (or your seeds will drown or the tap root may rot), and not too dry (or your seeds won’t germinate). All you have to do is keep the paper towel moist, and in a warm, (70-80°F), dark place. Within 1–4 days, your seed should germinate.

Planting 

Planting your seeds in the right medium will go a long way in producing a high-yield harvest with high-quality buds. For beginner growers, recommend using organic soil, as it takes a lot of of the work (nutrient feeding) out of the growers hands and lets the plants do the heavy lifting.

We would also suggest growing indoors, especially if it is your first time, as it is way easier to manage the environment than growing outdoors. 

Nutrient Needs 

Most autos don’t need nearly as much nutrients as photoperiod strains do, especially during the early stages of growth. When using a quality potting mix like Fox Farm Ocean Forest or Happy Frog, your plants should have enough nutrients for most of the grow, save for some light feeding here and there. When it is time to feed your plants, we recommend using a half-strength solution with every watering until harvest time. This will ensure that your plants get enough nutrients without being overfed.

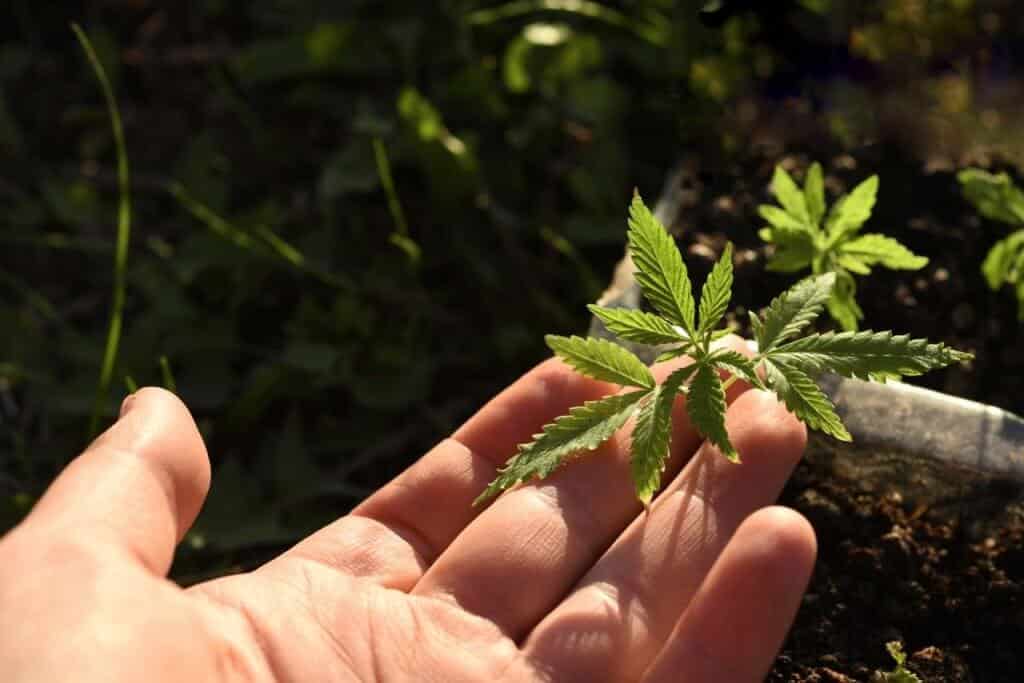
Autoflower cannabis sprout
Small sprouts of an autoflower cannabis plant grown outdoors

How Do I Grow Autoflowers Outdoors?

Autoflowers grow just as well outdoors as they do indoors. Keep in mind that you will not have nearly the same level of environmental control as you do indoors, so it is important to choose a suitable location for your plants. Here are some tips for growing autoflowers outdoors:

  • Choose a sunny spot with well-draining soil, and give them some rain shelter if you are expecting a heavy downpour
  • Make sure the area is protected from strong winds
  • Be mindful of potential pests and take preventative measures

Weeks 1-2

The process starts with the seedling phase. As we mentioned earlier, the paper towel method is best for germination and the formation of the tap root. 

After the germination process, you will need to plant your seeds. Do this extremely carefully. Plant about half an inch below the surface level, and very gently cover the seed with soil. Make sure you do not plant too deep, as this will make it more difficult for your plants to sprout. Also plant in the pot you intend to finish them in, to reduce shock from transplanting.

During the first week of planting outdoors, make sure that you are setting up your plant to protect it from pests. Put it under a mesh to keep insects and bigger animals away, and check each day to make sure that no pests have gotten to your plant. 

Weeks 3-4

By week three, your auto will be well into the vegetative stage, and you will notice a huge increase in the size of your plant. Autos grow quick, so make sure you are keeping an eye on them. 

You may need to increase the amount of water you give your plant as it grows and ensure it is getting the right nutrients

Weeks 5-6

This is the late veg stage and the time that your auto will start to transition to the flowering stage. You will notice pre-flowers popping up on the plant, which will give you a bit of an idea of how many budding sites your plant is going to have.

Weeks 7-8

This is the heart of the flowering stage, and the time when you will see the first formation of buds. Your plant will no longer grow any bigger, instead it will be focusing all of its energy on producing strong and healthy buds. 

You may need to add some flower-specific nutrients at this point to help your plant thrive and produce a high-quality yield. Monitor your plants for any signs of nutrient deficiencies or pest infestations.

Weeks 9-10

Now that the trichomes are formed, you can get a good idea of the quality of the buds. You are looking for a mix milky  and amber trichomes. If they are clear, they might still need a few more days before harvesting. 

Weeks 11-12

One of the final things you will need to do before harvesting is known as flushing. You will stop feeding your plants nutrients and water them with stable pH water for a few days straight. This will flush out any salts and minerals from the nutrients, giving your buds a more natural and delicious taste when it comes to smoke time. 

After the flushing is done, it is time to harvest your autoflower and dry those buds.

How Do I Grow Autoflowers Indoors?

Growing indoors will almost always produce better results with autos than growing outdoors. Here are some tips for growing autoflowers indoors:

  • Invest in high-quality LED lights with a full spectrum that can mimic natural sunlight
  • Keep the environment controlled with proper ventilation, temperature, and humidity levels

Here is the week-by-week breakdown on how to grow autoflowers indoors, with the assumption that you weed plant will finish in about ten weeks:

Weeks 1-2

The start of the process all begins with the germination stage. As we mentioned above, we recommend using the paper towel method. Once you have prepared your pot with your preferred soil type, poke a 10-15mm hole in the soil mix. Place your seed in the hole and cover it lightly with soil.

You will see the first signs of your plant sprouting in the next few days. 

For the best results, try and keep your grow area at around 70% relative humidity with temperatures around 25 C (77F).

The second week is often referred to as the late seedling stage, as it will strat the transition into full veg growth

A 400W LED light should provide the ideal amount of power for a small indoor grow. Using this light setup, you should be able to grow two or three large plant per square meter. ,

Weeks 3-4

This is the vegetative stage, where you will start to see your seedling resemble a cannabis plant. The notable fan leaves will start to form, which will help ramp up photosynthesis, and you may even start to notice some pre-flowers forming at the nodes of your plant. 

During this period you should attempt to reduce the humidity of the grow room to around 45-50%. Temps can stay around the 77F mark.

Reposition your lights to about 2 to 3 foot from the tip of the canopy for optimal photosynthesis, and use soft garden wire to pin down any stray branches that might get in the way of your budding sites. By the end of this stage, you should aim for all of your future bud sites to be at the same level. 

Weeks 5-6

Known as the flowering stage, this is where the fun begins. Your plant will stretch a fair bit, and you will start to see buds forming. This is when you should really dial in your grow conditions. 

Keep the humidity at around 45% but bump the temperatures to about 70-75F. You should also move your light a little closer to about 55cm from the top of the canopy. Your plant will also get much thirstier during this stage. Always water your plants util you see 25% runoff.

Weeks 7-8

The goal for the start of this period is maintenance. Focus your time and energy on keeping your grow room balanced. 

Try and keep your humidity and temperature levels stable and maintain a a daily watering routine.

By the end of this period, your buds will be looking thick and resinous. But don’t get too excited too early. There are still a few important steps to take if you want to produce a truly beautiful harvest.

At the end of week 8, you should start the defoliation process. Trim away any excess fan leaves to reduce the risk of mold and increase light exposure. 

Weeks 9-10

Keep your environmental factors as stable as possible during week 9, and make sure you are checking your buds for any pests like thrips or spider mites. 

This is when you should consider stopping all nutrients and starting the flushing process. This involves filling the pot with as much water as it can hold, and letting that drain. Repeat this several times over the next couple of weeks to remove any excess nutrients. This process will help give your buds a smooth and more aromatic flavor. 

By week 10, all your hard work should have paid off, and it will be time to harvest. A good way of knowing if your plant is ready to harvest is the color of the trichomes. You are looking for a split of about 70/30 milky and amber.

If your plant doesn’t seem to be ready for harvest by week 10, don’t stress. Some autos take longer than others, and you may just need to wait a few more days to a week before cutting down your little beauties. 

Once you have harvested, start the drying and curing process, then toke away and enjoy all that hard work.

What is the Best Light Schedule for Autoflowers?

As we mentioned previously in this article, autoflowers are special as they do not rely on light to initiate the flowering process. Rather, they have an internal body clock of sorts, which makes them begin flowering at around four weeks, no matter how much light they are exposed to.

With all of this freedom and leniency, growers have the option to choose their own light schedule. Some growers take the approach that more light = more photosynthesis = higher yield, so they leave their grow lights on 24/7 throughout the entire cycle. This, however, can become very expensive. 

The most common light cycle that growers follow is the 18/6 schedule, where you leave your lights on for 18 hours of the day, and turn them off for 6 hours. The beauty of autoflowers is that any change in the light cycle will probably not have a detrimental effect on the outcome of your yield. 

We recommend 18/6 or 20/4 for most indoor autos.

What is the Best pH for Autoflowers?

The pH of your soil has a big impact on the effectiveness of your autoflower grow. If your pH becomes too high (alkaline) or too low (acidic), nutrient lockout will start, and your plant will begin to show deficiencies. 

The ideal pH level for your soil is between 6.0 and 7.0. If you don’t already own one, you should invest in a pH tester in order to keep an eye on the levels in your soil throughout the grow cycle.

With that said, pH monitoring is less important with soil grown plants than it is with hydroponics.

Choosing the Right Autoflower Seeds

Choosing the right strain depends on a wide variety of factors. Each strain is different to the next, producing a different type of high and different yields,. Some strains o well in a Nor Cal type of climate, while others prefer a more Mediterranean scene.

Before you select your autoflower seed, research what seeds suit your grow environment the best, especially if you are growing outdoors. You should also research the effects of the strain (sativa or indica) as well as the difficulty ratings of growing it

If you are a beginner grower, we would recommend choosing a well-known strain that is easy to grow. There is no point in challenging yourself too early in your growing journey, as it will only discourage you for the future. 

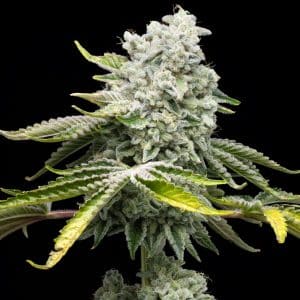
Granita OG 

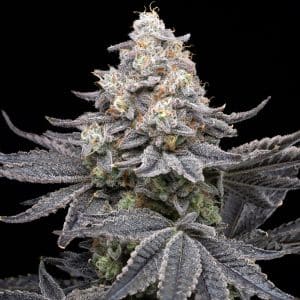
Granita OG is a hybrid strain that comes from the cross between the Gelato 33 and Jet A strains. It is 50% indica 50% sativa and has a pretty high THC level of 24%, making it popular for all you experienced stoners out there. 

The effects of this strain are often associated with happiness, creativity, and relaxation. This makes it ideal for an end of day relaxer where you can put your feet up, kick back and enjoy an evening sesh. 

In the world of medical marijuana, this strain can be used to alleviate symptoms of stress, pain and depression. 

Growing Tips 

Granita OG can be a rewarding yet somewhat difficult autoflower strain to grow. It can be really fragile, especially in its early stages, so be gentle with it.

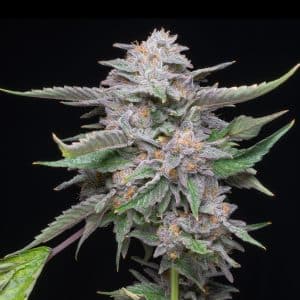
Lemon Cherry Dolato

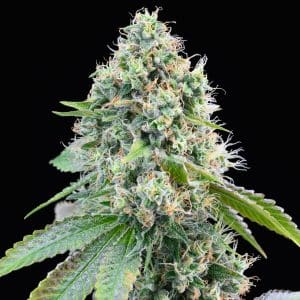
This autoflower Lemon Cherry Dolato strain is a cross between the two strains Sunset Sherbet and Girl Scout Cookies. With a THC level of around 22%, it is perfect for more experienced and seasoned stoners. 

Users tend to report a tingly, relaxed, and euphoric feeling after smoking, which can make it perfect for an end-of-day treat or a midday pickup. In the medicinal world, it can help deal with symptoms such as anxiety, pain, and stress. 

Growing Tips

This strain keeps things simple. It thrives in both indoor and outdoor settings, making it perfect for beginner growers. It also adapts well to training techniques and growing practices, which means you can play around without too much risk of ruining your plant. 

Sour Runtz 

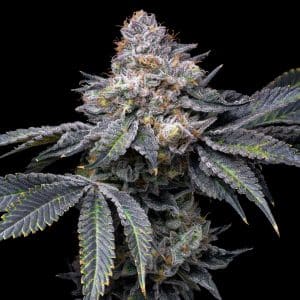
With a deliciously fruity and sour flavor, this indica-heavy strain (70% Indica/30% Sativa) will knock your socks off. Sour Runtz has a high THC level of up to 30% so be prepared.

Users report a high that slowly creeps up on them, then hits them like a brick wall, leaving them stoned as all hell. After the initial hit, it will calm into a relaxing high that will eventually sedate you enough into a deep and peaceful slumber. In the medicinal marijuana world, it is commonly used for the treatment of symptoms such as chronic aches and pains, insomnia, anxiety, and appetite loss.

Growing Tips

Sour Runtz autoflower seeds are pretty strong and robust, however, they can be extra sensitive to high temperatures. When growing this strain, be sure to keep an eye on your humidity and temperatures, or risk poor germination and stunted growth.

Picture of Sam North

Sam North

Sam North is a content writer with a passion for everything cannabis. After working multiple seasons on weed farms absorbing the ins and outs of cannabis cultivation and culture, he decided to transition into a role that would allow him to work from anywhere, anytime. Sam now writes for multiple weed publications. He has extensive experience with a wide range of canna-agriculture styles, from smaller artisanal farms to large-scale commercial operations, and is here to share his knowledge to give you all the best chance of cultivation success.

Shop popular cannabis strains

Here's 20% Off On Us!

We want to help you get your hands on the seeds you want, take 20% off your next purchase when you enter your email below!

Here's 20% OFF On Us!

We want to help you get your hands on the seeds you want, take 20% off your next purchase when you enter your email below!